Biscuit joints involve oval, dried-wood “biscuits” inserted into matching slots cut into two pieces of wood; once glued, the biscuit swells and locks the joint securely. They’re commonly used in tabletops, cabinets, face frames, edge-joining boards, and casework—ideal for alignment and reinforcing butt joints.
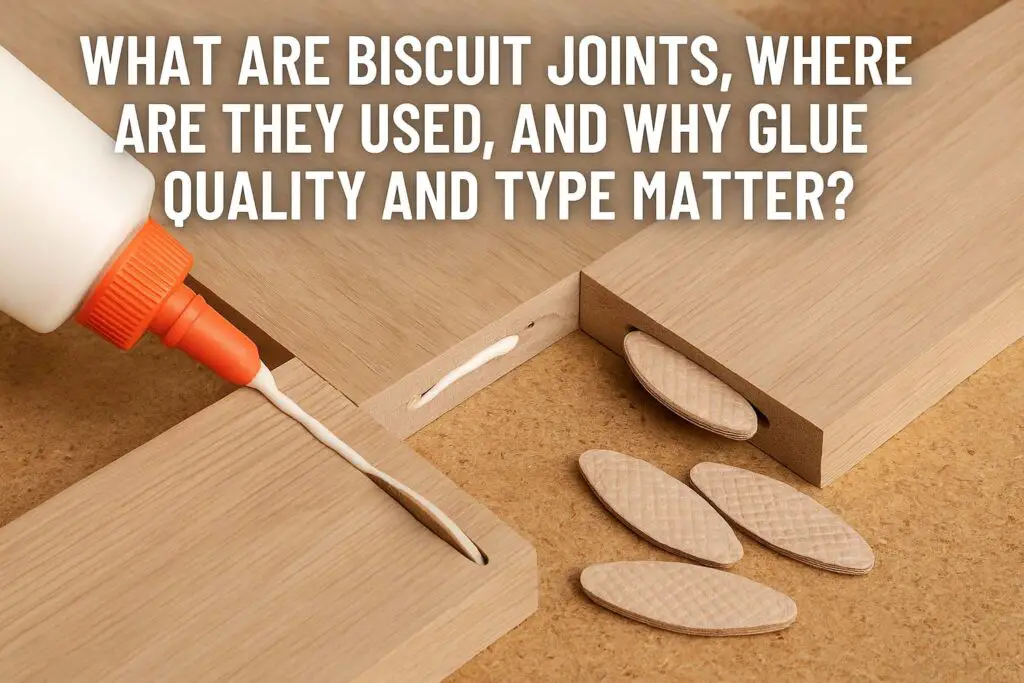
The glue you choose for biscuit joints matters greatly: it ensures the bonded surfaces hold under stress, resists moisture and movement, and provides solid alignment. Poor glue choice or weak bonding can cause joint failure, misalignment, or swelling issues later.
What Makes a Good Glue for Biscuit Joints?
To get the strongest, most durable biscuit joint, look for:
- Bond Strength – The glue must create a strong, reliable bond between wood and biscuit for lasting durability.
- Drying/Curing Time – You need sufficient open time for alignment, but reasonable clamp release time to keep projects moving.
- Water-Resistance – Especially for kitchen, bathroom, or exterior use, water-resistant or waterproof glues help prevent joint failure through moisture.
- Ease of Application – Smooth spread, easy cleanup, predictable behavior and viscosity help achieve consistent, accurate joints.
Types of Glue Commonly Used for Biscuit Joints
PVA Wood Glue (Polyvinyl Acetate)
Advantages: Easy to find and use; strong initial tack; cleans up with water; generally low cost.
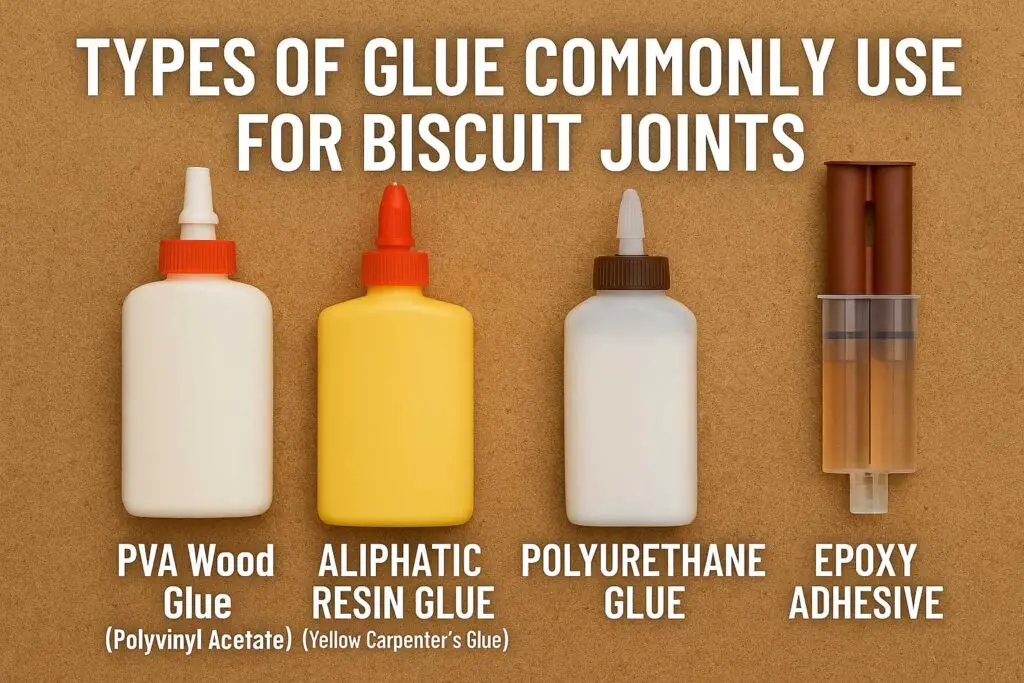
Disadvantages: Limited water resistance (unless a “Type II” or waterproof variant); longer clamp times; joints can become slightly weaker if exposed to moisture.
Aliphatic Resin Glue (Yellow Carpenter’s Glue)
Advantages: Formulated specifically for woodwork—excellent adhesion, faster set time than standard PVA, and strong until failure of the wood itself.
Disadvantages: Still not fully waterproof, though “exterior-grade” variants exist; cleanup requires solvents or warmer water.
Polyurethane Glue
Advantages: Very strong, waterproof, and expands into biscuit and slot for excellent filling; great for difficult fits or veneers.
Disadvantages: Expands and foams, which can make cleanup messy; requires moisture to cure; limited open time; tougher to control in precision joinery.
Epoxy Adhesive
Advantages: Extremely strong; fills gaps well; very waterproof; great for outdoor or special-use situations; excellent for exotic or oily woods.
Disadvantages: More expensive; shorter open time (depending on formulation); mixing required; longer cure time; more challenging cleanup.
Best Glue Options in the Market (Brand Examples)
Here’s a comparative look at some top-rated choices:
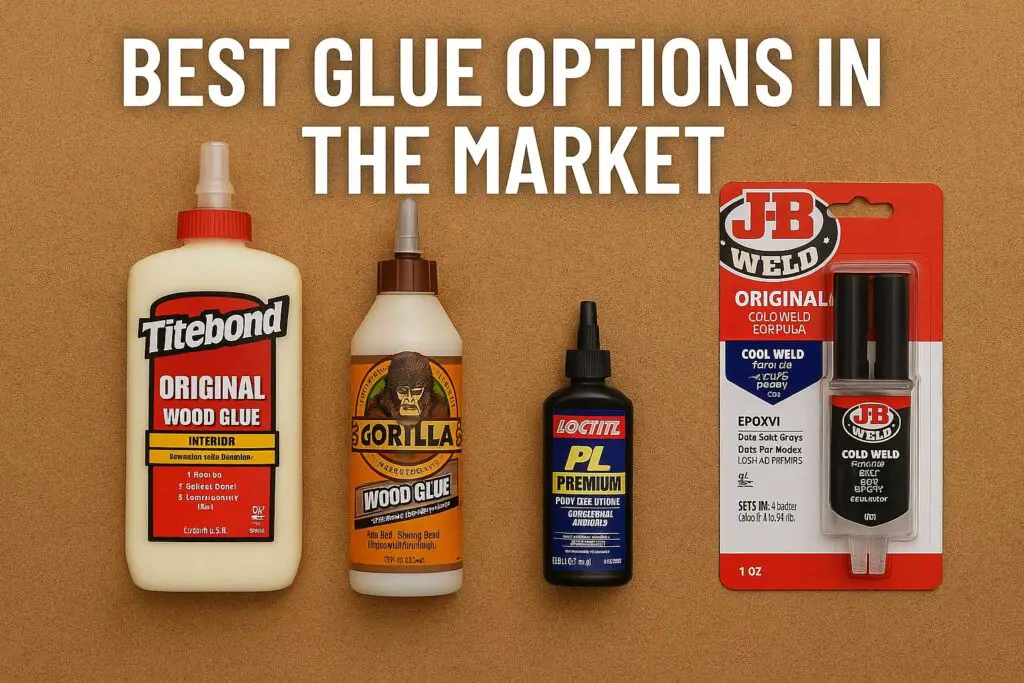
- Titebond Original Wood Glue (PVA) – Reliable general-purpose glue with good open time; clean water cleanup; best for indoor, dry applications.
- Titebond II Premium (PVA Type II, Water-Resistant) – Stepped up with water resistance; still easy to use for kitchens/bathrooms.
- Titebond III Ultimate (PVA, Waterproof) – Fully waterproof, FDA-approved for indirect food contact; excellent for heavy-duty or exterior use.
- Gorilla Wood Glue (Aliphatic) – Thick, fast-setting, strong—great for quick-clamp biscuit joinery.
- Gorilla Polyurethane Glue – Tough, waterproof, gap-filling—but beware of foam expansion when clamping.
- System Three S-2 Epoxy – High strength, gap-filling, waterproof; great for fine or demanding biscuit joints; requires mixing.
| Glue Type | Example Brand(s) | Strengths | Limitations |
| PVA (Original) | Titebond Original | Easy use, low cost, clean up with water | Not water-resistant, slower cure |
| PVA Type II | Titebond II | Water-resistant, good balance of qualities | Slightly higher cost |
| PVA Waterproof | Titebond III | Fully waterproof, FDA kitchen-grade | Higher price point |
| Aliphatic Resin | Gorilla Wood Glue | Fast-set, strong, carpenter’s favorite | Moderate water resistance |
| Polyurethane | Gorilla Glue (PU) | Very strong, waterproof, gap filling | Messy expansion, tricky cleanup |
| Epoxy | System Three S-2 or similar | Best strength, water & gap friendly | Costly, mixing, longer cure |
Step-by-Step: How to Glue Biscuit Joints Properly
Biscuit Slot Preparation: Ensure slots on both mating faces align perfectly. Clean of dust/sawdust to ensure strong glue contact.
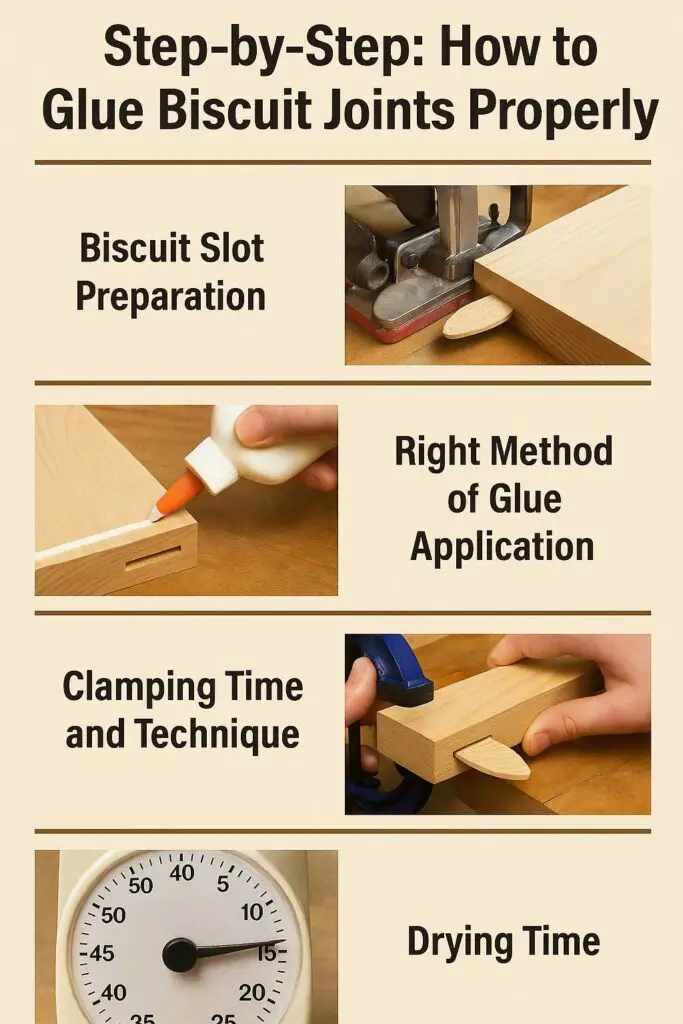
Applying the Glue: Apply a thin, even layer inside the slot and on biscuit. Avoid excess; for PVA or aliphatic, a strip down the slot and biscuit suffices. For polyurethane, a small amount inside the slot is enough—your moisture will activate it.
Insert Biscuit: Tap the biscuit into one slot, then bring the two boards together and align. For polyurethane, moisture from wood may be enough; for epoxy, mix resin/hardener then apply quickly.
Clamping Technique & Time: Clamp firmly but not overly tight—just enough to close the joint and prevent misalignment.
Typical clamp times:
- PVA: 20–30 minutes open time; clamp 30–60 minutes.
- Water-resistant variants (Titebond II/III): around 20–30 minutes clamp.
- Polyurethane: 30–60 minutes clamp; cleanup before foam sets.
- Epoxy: clamp until tack-free (often 1–2 hours), then full cure in 12–24 hours.
Drying/Curing:
- Let dry on flat surface. For PVA/aliphatic, remove clamps after 30–60 minutes and let sit for full cure (12–24 h).
- For PU: wipe off squeeze-out before it cures; full strength after 24 h.
- For epoxy: follow manufacturer cure time; full strength usually at 24 hours.
Common Mistakes to Avoid
- Too Much Glue: Excess squeeze-out makes cleanup harder and weakens joint; less is often more.
- Insufficient Clamping: Without adequate pressure, the biscuit can slip or glueline remains weak.
- Late Cleanup: Especially with PU and epoxy, delayed cleanup leads to hardened mess.
- Dry Biscuit / Wood: Especially for polyurethane, without moisture activation it won’t cure properly.
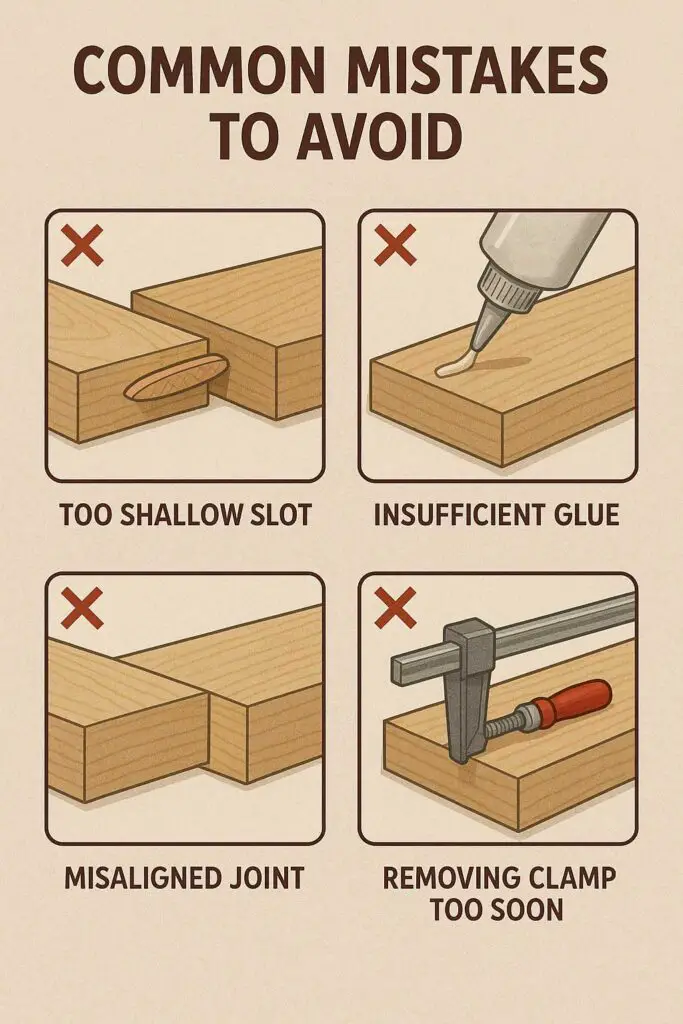
Poor Alignment / Dusty Slots: Any debris or misalignment drastically reduces bond strength.
Tips for Stronger and Longer-Lasting Biscuit Joints
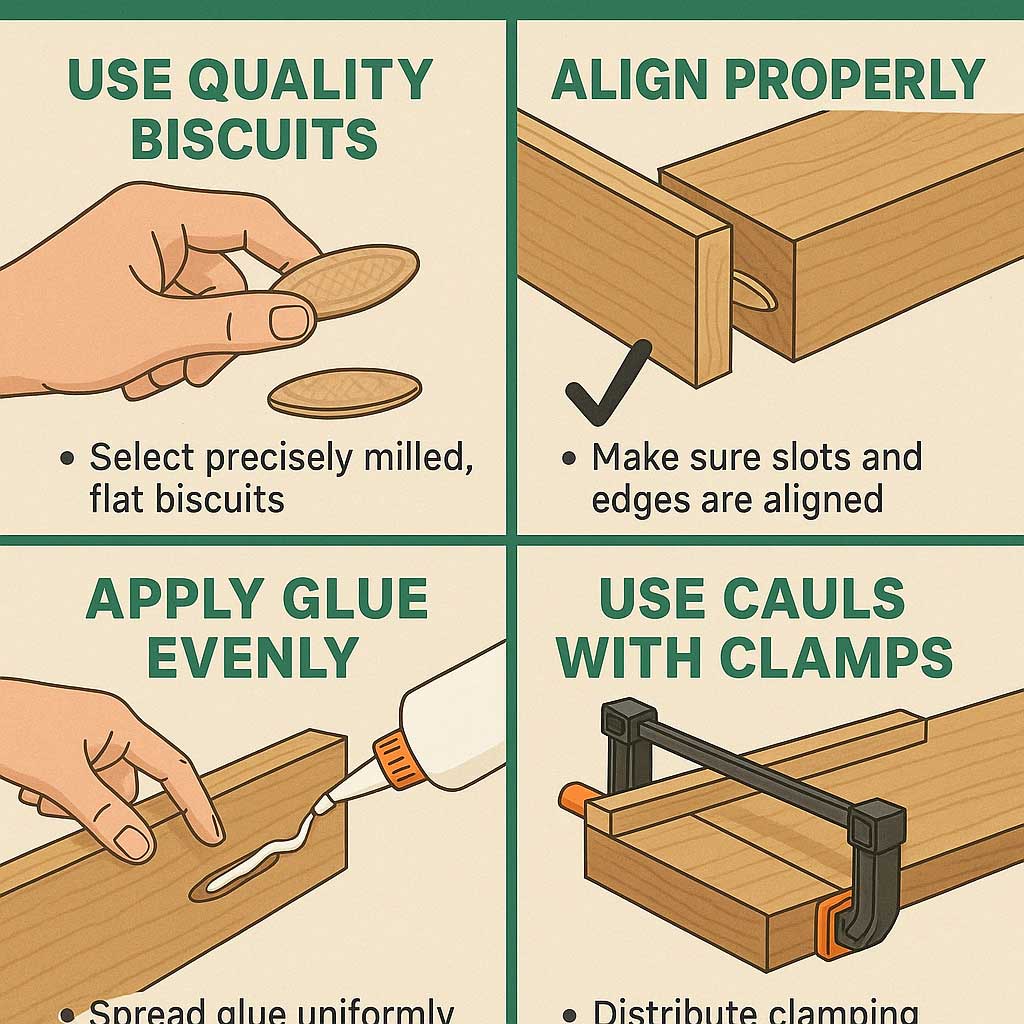
- Sand or lightly roughen biscuit surface to aid adhesion, especially for slick, laser-cut biscuits.
- Moisten dry wood surfaces slightly before using PU glue, to activate better cure.
- Use waterproof or water-resistant glue for kitchens, bathrooms, or humid environments (e.g. Titebond III or PU).
- Clamp only as long as needed, then leave the joint undisturbed to achieve full cure.
- Apply a thin bead along the joint face, not just the slot—this helps increase glueline coverage.
Store glue properly – well-sealed, in cool environment for PVA; in dry for PU; epoxy in stable temperature to preserve cure performance.
8. Conclusion
Choosing the best glue for biscuit joints depends on your project’s environment and demands. For general indoor use, PVA (Titebond Original) works wonderfully. When moisture or water resistance becomes a factor, step up to Titebond II or III. For ultra-durable, waterproof, and gap-filling needs—especially in tricky fits or outdoor conditions—polyurethane (Gorilla) or a quality epoxy may be the way to go.
Apply glue carefully, clamp correctly, clean up promptly, and allow proper cure time. Avoid common pitfalls like over-application, poor alignment, and dirty work surfaces. With these tools and techniques in your bag, your biscuit joints will be rock-solid and long-lasting—just what every woodworker aims for.