There are many interesting things about woodworking tape measures that you may not know. For starters, they come in a variety of different shapes and sizes. In addition, they can be made from a variety of materials, including plastic and metal. They also have different features, such as belt clips and locking mechanisms. In this article, we will discuss 10 unique facts about woodworking tape measures that you may not have known!
Woodworking tape measures history
Woodworking tape measures have a long and interesting history. They were first invented in the 18th century by English carpenter John Michell. Michell’s design was based on a measuring device that had been used by surveyors. The first woodworking tape measure was made from brass and had a wooden handle.
Woodworking tape measures shapes and sizes
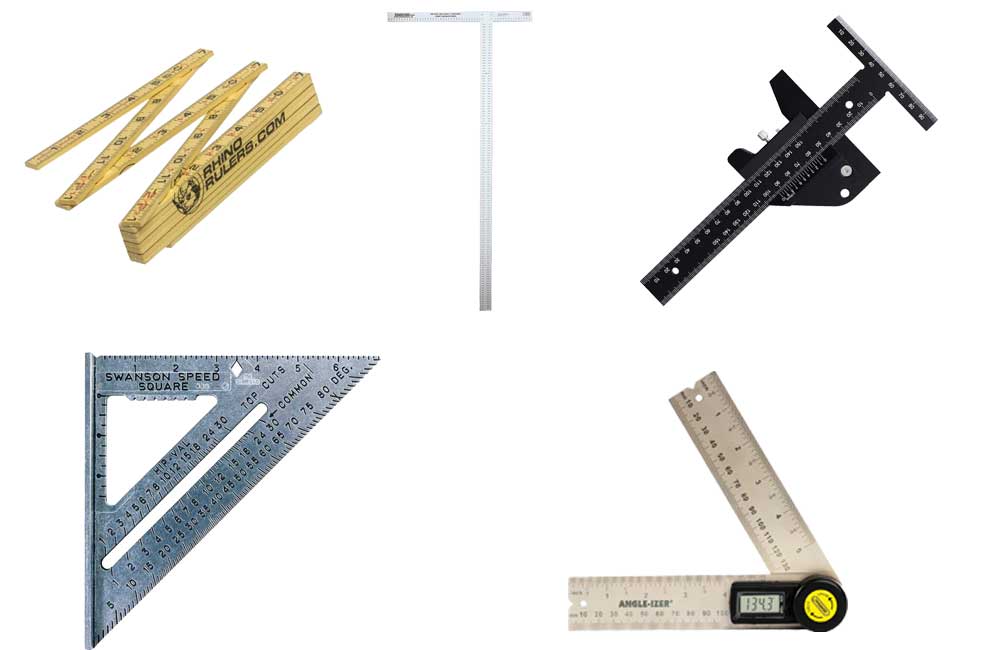
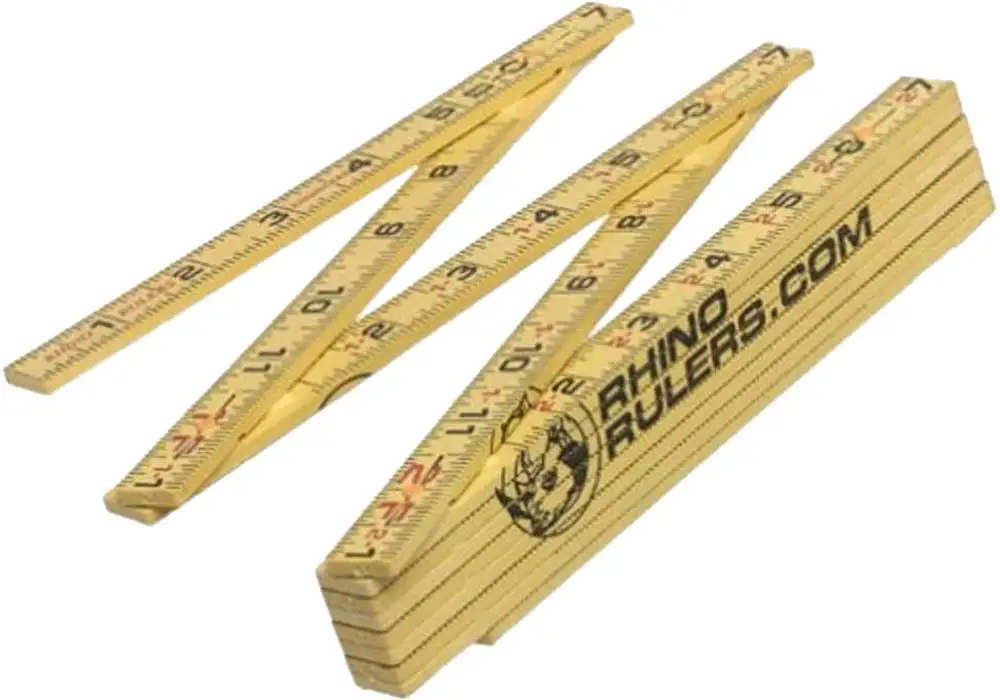
Woodworking tape measures come in a variety of different shapes and sizes. They can be round, square, or rectangular. They also come in different colors, such as black, blue, or red. In addition, they can be made from a variety of materials, including plastic and metal.
Woodworking tape measures length
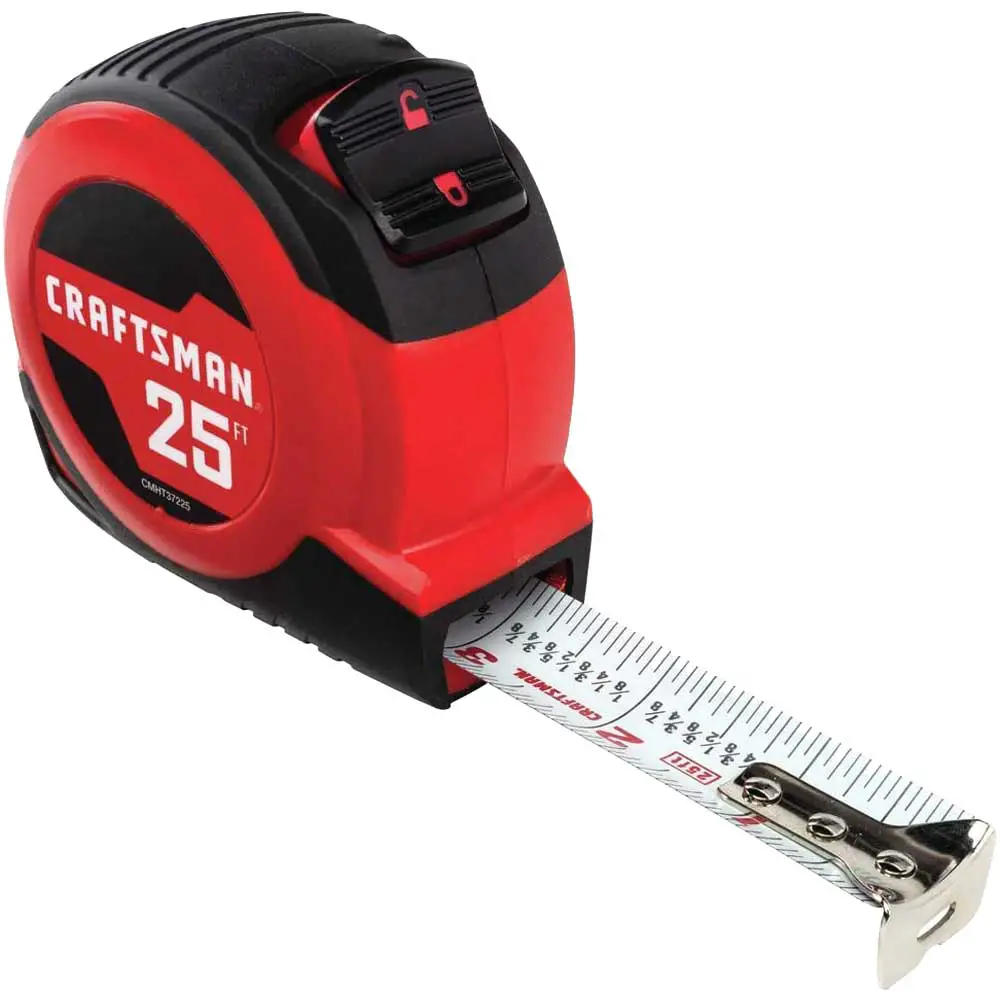
One of the most interesting facts about woodworking tape measures is that they come in a variety of different lengths, ranging from six feet to 100 feet. The most common length is 25 feet, but they can also be found in lengths of 50 feet or even 100 feet. This makes them ideal for a variety of different projects, both big and small.
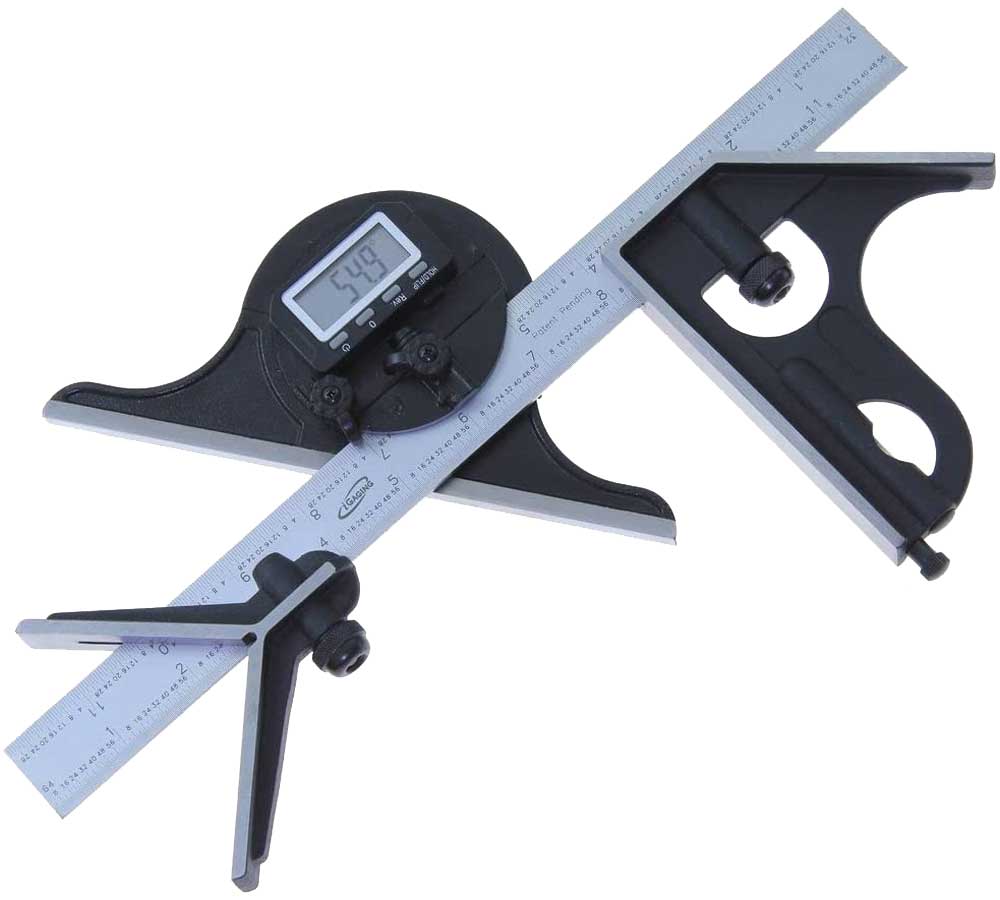
Woodworking tape measures Blade Material (alloy steel, fiberglass, stainless steel)
There are three main types of blade materials used in woodworking tape measures: alloy steel, fiberglass, and stainless steel.
Alloy steel is the most common type of blade material used in woodworking tape measures. It is durable and has a good balance between flexibility and rigidity.
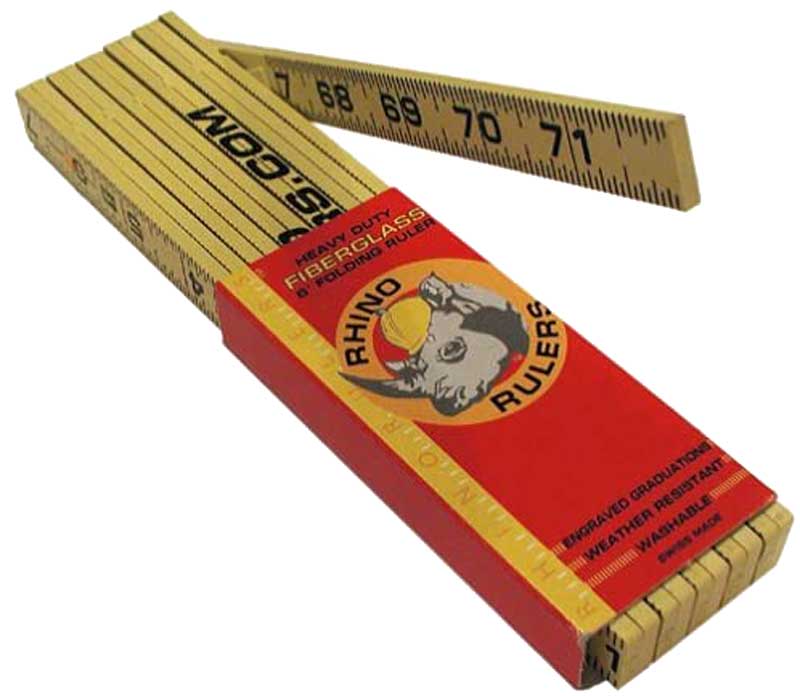
Fiberglass is another popular type of blade material used in woodworking tape measures. It is very strong and rigid, but can be difficult to work with if you are not experienced.
Stainless steel is the third type of blade material used in woodworking tape measures. It is very strong and durable, but can be difficult to work with if you are not experienced.
The most common materials are steel and plastic. Steel is more durable than plastic, but it is also more expensive. Plastic is cheaper, but it is not as durable.
Woodworking tape measures lock type
Some woodworking tape measures have belt clips. Others have locking mechanisms. Some have both. And some don’t have either.
There are many different types of locking mechanisms on woodworking tape measures. Some have a thumb lock, while others have a push button. There are also some that have a release lever. Each type has its own advantages and disadvantages.
The thumb lock is the most common type of locking mechanism. It is easy to use and provides a good grip. However, it can be difficult to release the lock with one hand.
The push button locking mechanism is easier to release than the thumb lock. However, it can be difficult to keep the tape measure from slipping while you are using it.
The release lever is the most difficult type of locking mechanism to use. However, it is the most secure. It is also difficult to release with one hand.
How to read woodworking tape measures
Most tape measures have markings that indicate inches, with the biggest increments being in feet. There will also be a smaller line every 16th of an inch. In between each foot mark, there are hash marks that indicate half feet—these are represented by the symbol “-“ on most tape measures. Finally, some tape measures also have a mark for every quarter inch.
To read a woodworking tape measure, start by finding the zero-inch mark, which is usually located at the end of the tape. Then, hold the tape measure at the zero-inch mark and stretch it out to the desired measurement. The number that lines up with the zero-inch mark is the measurement in inches. For example, if you want to measure a board that is two feet long, you would stretch the tape measure out to 24 inches and read the number “24” on the tape measure.
To convert measurements from inches to feet, divide the number of inches by 12. For example, if you want to convert 24 inches to feet, you would divide 24 by 12, which equals two feet.
Tape measures are a vital part of any woodworker’s toolkit. With a little practice, you’ll be able to quickly and easily read a tape measure like a pro!
Woodworking tape measures accuracy
One of the most important aspects of a woodworking tape measure is its accuracy. This is especially true for professional woodworkers who rely on these tools to make precise measurements. There are a few things that can affect the accuracy of a tape measure, such as the type of material it’s made from and the width of the tape.
Another factor that can impact the accuracy of a woodworking tape measure is how it’s used. For example, if you’re using it to measure the length of a board, you’ll need to make sure that the board is level before taking your measurement. Otherwise, you might end up with an inaccurate reading.
Finally, keep in mind that even the best tape measures can lose their accuracy over time. This is why it’s important to check your tape measure regularly and calibrate it if necessary. By doing this, you can ensure that your measurements are always accurate.
Woodworking tape measures uses
Woodworking tape measures are used for a variety of tasks, including measuring dimensions and taking accurate measurements. In addition, they can be used to create precise cuts and markings on wood. They are also useful for marking out lines and patterns on wood.
What fraction is .35 inches?
Did you know that the standard markings on a woodworking tape measure are in fractions of an inch? For example, the mark for one-quarter inch is usually represented by a “¼” sign. So, if you see this symbol on your tape measure, you know that .35 inches is equal to three-quarters of an inch.
How do you read a 32nd tape measure?
The first thing you need to do is find the zero mark on the tape. This is usually located at the end of the blade. Once you have found the zero mark, you need to count the number of hash marks that are between the zero mark and the inch mark. Each hash mark represents one-thirty-second of an inch. So, if there are eight hash marks between the zero mark and the inch mark, that means the tape measure is reading eight-thirty-seconds of an inch, or one-quarter of an inch.
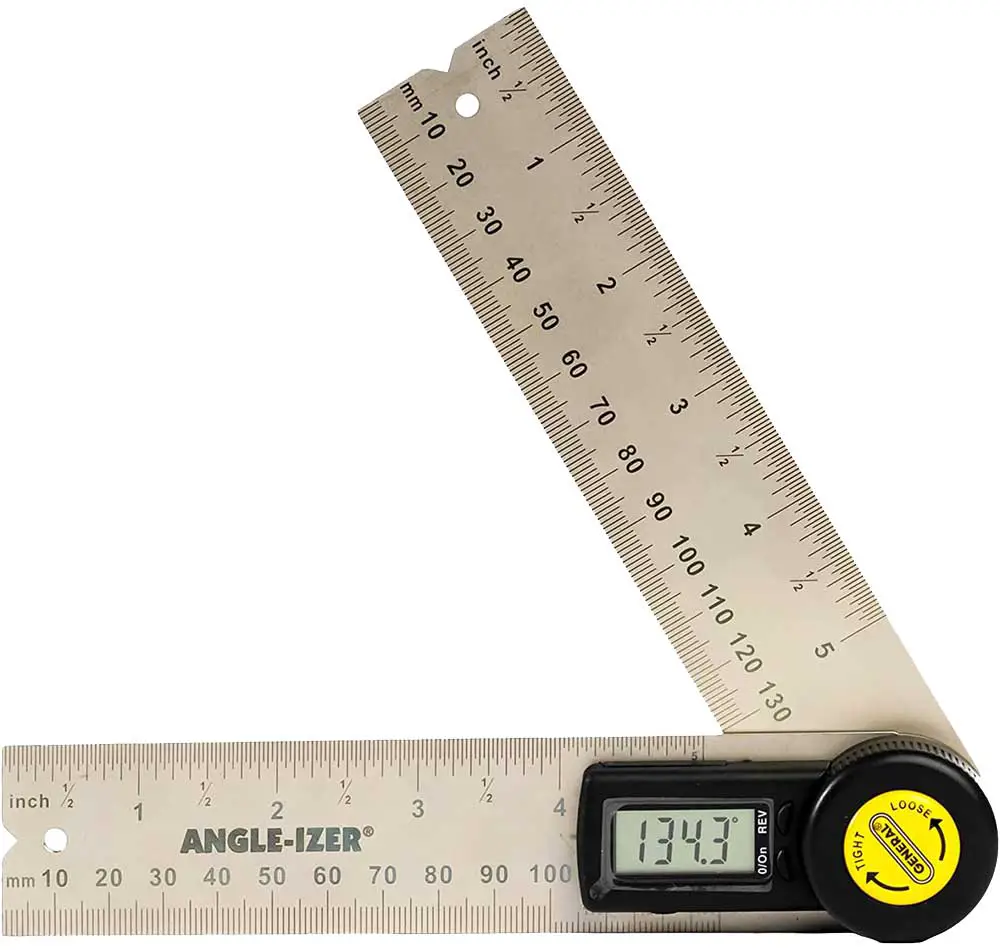
To read a metric tape measure, you need to find the zero mark on the blade and then count the number of centimeters between the zero mark and the end of the blade. Each centimeter represents ten millimeters. So, if there are eight centimeters between the zero mark and the end of the blade, that means the tape measure is reading eighty millimeters, or eight centimeters.
When you’re using a tape measure, it’s important to remember that the markings on the blade are only approximate. This is because the blade itself is flexible, so the markings will change slightly depending on how much pressure you’re applying to the tape. If you need an accurate measurement, it’s best to use a ruler or a measuring tape.
How do you read a 64th tape measure?
The first thing you need to do is identify the markings on the tape. The smallest increment on a standard tape measure is an inch, and each inch is divided into 16 smaller units called “marks.” These marks are usually represented by small lines or dashes. In between each inch mark, you’ll find four more marks that represent one-quarter, one-half, three-quarters, and one whole inch, respectively.
To read a 64th tape measure, you’ll need to identify the markings on the tape that represent 64ths of an inch. These markings are usually represented by small lines or dashes. In between each inch mark, you’ll find four more marks that represent one-quarter, one-half, three-quarters, and one whole inch, respectively. Each of these marks represents 16 64ths of an inch.
To measure something using a 64th tape measure, simply line up the beginning of the object you’re measuring with the 0 mark on the tape. Then, count the number of markings that fall within the length of the object you’re measuring. This will give you the measurement in 64ths of an inch. For example, if you’re measuring a piece of wood that’s two inches long, and four markings fall within that length, then your measurement would be 32 64ths of an inch (or two inches).
What is 25 on a 32nd tape measure?
This is a question that often comes up among woodworkers. The answer is that it is exactly one inch. This is because a 32nd tape measure has 32 divisions, so each division represents one-thirty-second of an inch. Therefore, the 25th division on a 32nd tape measure would be one inch.
You may have seen the markings “25 32” on a tape measure before, but what do they actually mean? These markings indicate that the tape measure is meant for use with 25-32 inch lumber. This is because the markings are placed at intervals of 16 inches, which is the standard width of lumber.
So, if you’re working with 25-32 inch lumber, make sure to use a tape measure that has these markings. It’ll make your life a lot easier!
Here are some additional facts about woodworking tape measures:
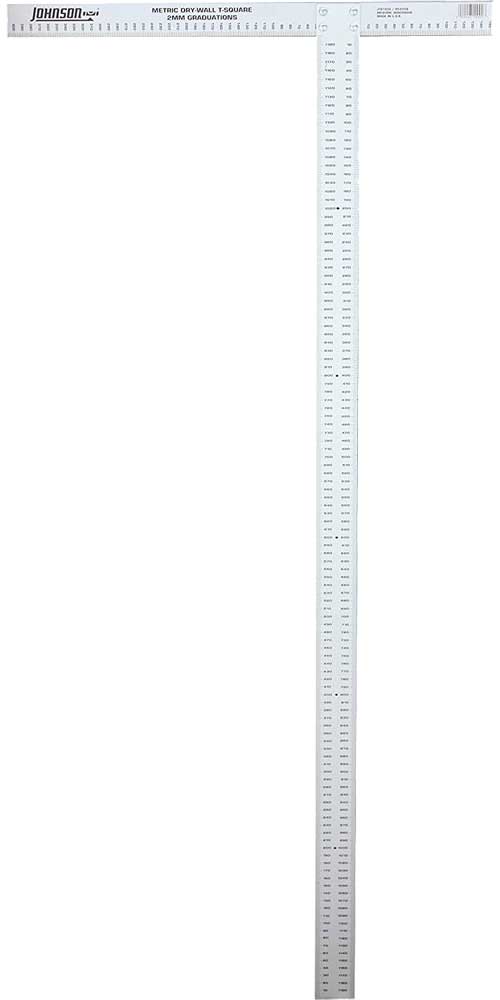
- Most tape measures have markings on them that indicate inches and centimeters.
- Some tape measures also have hooks or loops on the end, which can be used to measure around corners or other objects.
- They are often stored in a case or holster when not in use.
There are many different brands of woodworking tape measures. Some of the more popular brands include Stanley, Craftsman, and Milwaukee. If you’re looking for a new woodworking tape measure, be sure to check out the selection at your local hardware store or online.
Conclusion on woodworking tape measures
As you can see, there are a lot of interesting things about woodworking tape measures that you may not have known. From their accuracy to their different features, these tools are essential for any woodworker. By understanding more about them, you can be sure that you’re always using the best tool for the job.