If you are in the market for a porter cable biscuit joiner, you have come to the right place. In this article, we will discuss everything you need to know about these handy tools before making your purchase. We will cover topics such as features, benefits, and what to look for when shopping for a porter cable biscuit jointer. By the end of this article, you will be an expert on porter cable biscuit joiners and will be able to make an informed purchase!
Porter cable biscuit joiners are a great tool for anyone who is looking to do some woodworking. These tools allow you to make strong, tight joints in wood without the use of nails or screws. Biscuit joiners are also very easy to use, which makes them a great choice for beginner woodworkers.
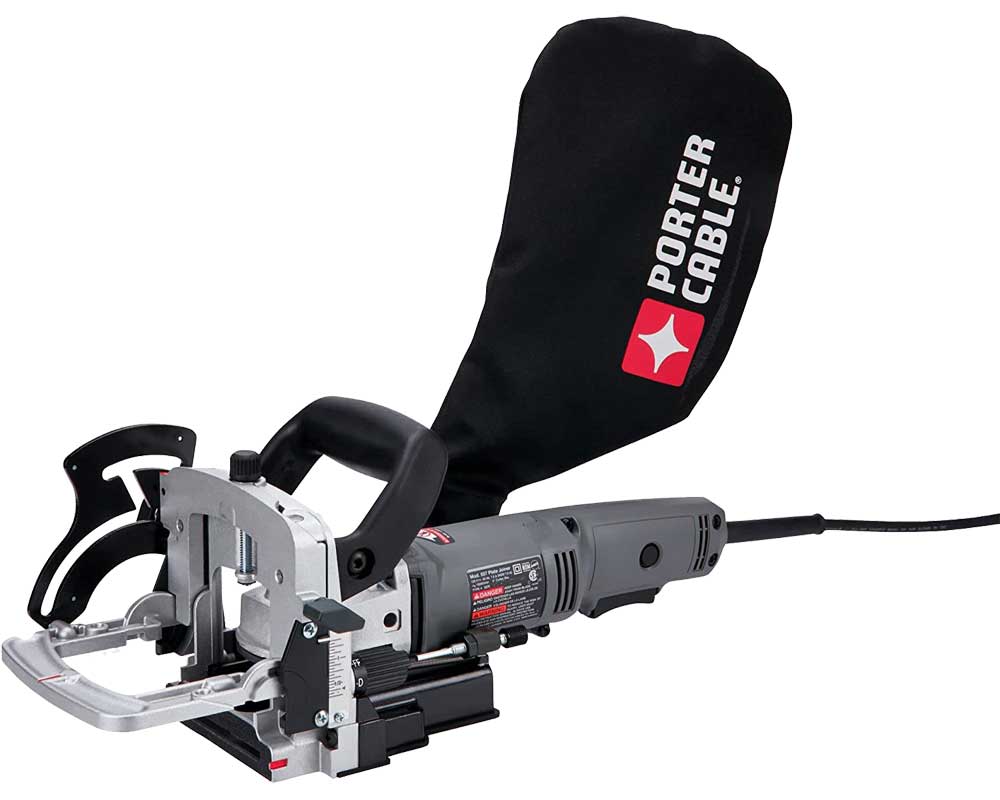
Porter cable biscuit joiner parts
The Porter Cable Biscuit Joiner comes with a number of different parts that all work together to help you make the perfect biscuit join. Each of these parts plays an important role in making sure that your biscuit join turns out perfectly. The main body of the machine is made up of the motor housing. The motor housing contains the motor and gears that drive the cutter. The baseplate provides a stable surface for you to work on. The fence ensures that your workpiece is held in place as you make your cut. And finally, the biscuit joiner cutter actually does the cutting.
With all of these parts working together, it’s no wonder that the Porter Cable Biscuit Joiner is such a popular choice for woodworkers.
Features to consider when shopping
There are many different features to consider when shopping for a porter cable biscuit joiner. Some of the most important things to look for include:
A powerful motor: This is important because you want your biscuit joiner to be able to handle any type of wood you throw at it.
An adjustable fence: This will allow you to adjust the biscuit joiner to fit the thickness of the wood you are working with.
A dust collector: This is a must-have if you want to keep your work area clean.
An easy-to-use guide: You want a biscuit joiner that is easy to set up and use.
Porter cable biscuit joiners are a great investment for anyone who enjoys woodworking. These tools are very versatile and can be used for a variety of projects. With so many different features to consider, you are sure to find the perfect porter cable biscuit joiner for your needs.
Porter cable biscuit joiners are available at most hardware stores and online retailers. When shopping for a porter cable biscuit joiner, it is important to compare prices and features of different models. By taking the time to do your research, you are sure to find the best deal on a porter cable biscuit joiner that meets your needs.
Uses of porter cable biscuit joiner
This tool is used to join two pieces of wood together using small, round wooden biscuits. The biscuit joiner cuts a shallow half-moon shaped hole in each piece of wood. A dry, powdered glue is then spread into the holes and the biscuits are inserted. The wood is then clamped together until the glue dries.
The biscuit joiner is a very versatile tool and can be used for a variety of different woodworking projects. Some of the most common uses for a biscuit joiner include:
Attaching countertops to cabinets
Making cabinet doors
Building shelves
Constructing frame and panel walls
Conclusion
The Porter Cable biscuit joiner is one of the most popular tools for joining wood. It’s a simple tool that anyone can use, and it’s very versatile. Here’s everything you need to know about the biscuit joiner.
There are many interesting things about woodworking tape measures that you may not know. For starters, they come in a variety of different shapes and sizes. In addition, they can be made from a variety of materials, including plastic and metal. They also have different features, such as belt clips and locking mechanisms. In this article, we will discuss 10 unique facts about woodworking tape measures that you may not have known!
Woodworking tape measures have a long and interesting history. They were first invented in the 18th century by English carpenter John Michell. Michell’s design was based on a measuring device that had been used by surveyors. The first woodworking tape measure was made from brass and had a wooden handle.
Woodworking tape measures shapes and sizes
Woodworking tape measures come in a variety of different shapes and sizes. They can be round, square, or rectangular. They also come in different colors, such as black, blue, or red. In addition, they can be made from a variety of materials, including plastic and metal.
Woodworking tape measures length
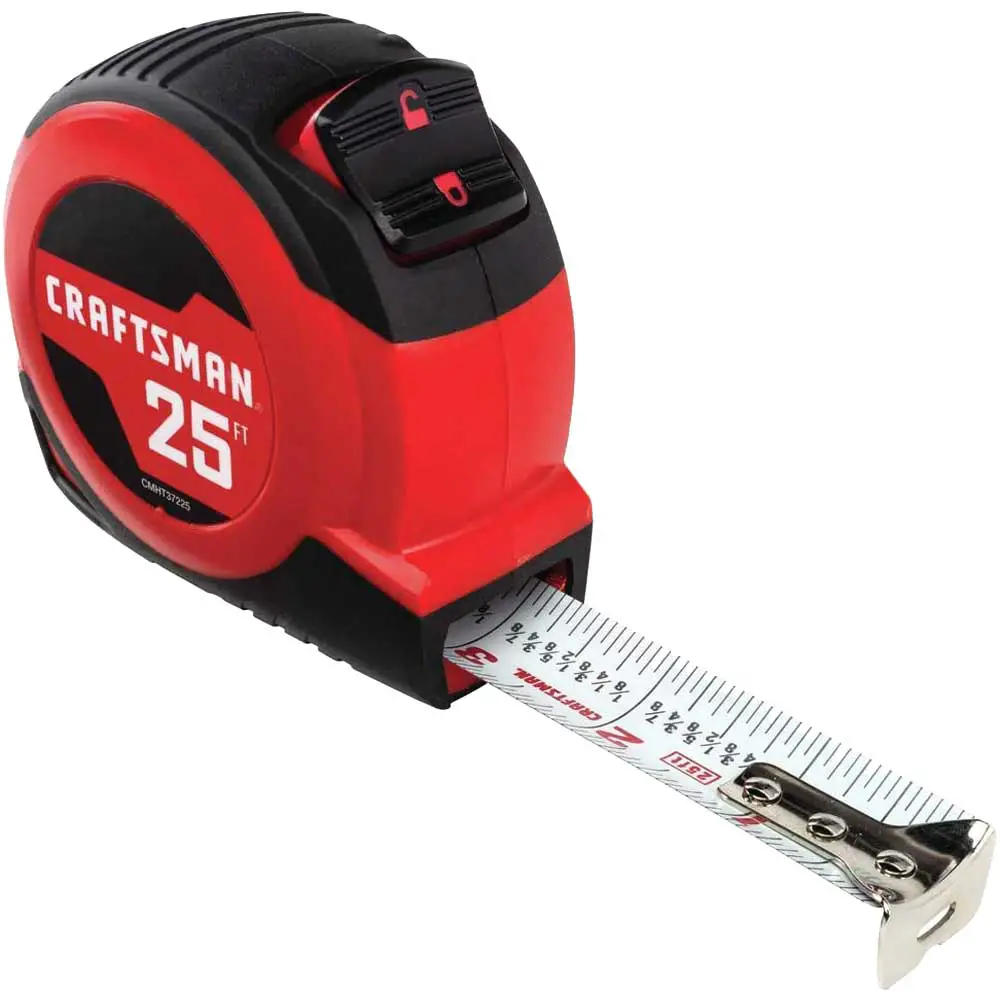
One of the most interesting facts about woodworking tape measures is that they come in a variety of different lengths, ranging from six feet to 100 feet. The most common length is 25 feet, but they can also be found in lengths of 50 feet or even 100 feet. This makes them ideal for a variety of different projects, both big and small.
Woodworking tape measures Blade Material (alloy steel, fiberglass, stainless steel)
There are three main types of blade materials used in woodworking tape measures: alloy steel, fiberglass, and stainless steel.
Alloy steel is the most common type of blade material used in woodworking tape measures. It is durable and has a good balance between flexibility and rigidity.
Fiberglass is another popular type of blade material used in woodworking tape measures. It is very strong and rigid, but can be difficult to work with if you are not experienced.
Stainless steel is the third type of blade material used in woodworking tape measures. It is very strong and durable, but can be difficult to work with if you are not experienced.
The most common materials are steel and plastic. Steel is more durable than plastic, but it is also more expensive. Plastic is cheaper, but it is not as durable.
Woodworking tape measures lock type
Some woodworking tape measures have belt clips. Others have locking mechanisms. Some have both. And some don’t have either.
There are many different types of locking mechanisms on woodworking tape measures. Some have a thumb lock, while others have a push button. There are also some that have a release lever. Each type has its own advantages and disadvantages.
The thumb lock is the most common type of locking mechanism. It is easy to use and provides a good grip. However, it can be difficult to release the lock with one hand.
The push button locking mechanism is easier to release than the thumb lock. However, it can be difficult to keep the tape measure from slipping while you are using it.
The release lever is the most difficult type of locking mechanism to use. However, it is the most secure. It is also difficult to release with one hand.
How to read woodworking tape measures
Most tape measures have markings that indicate inches, with the biggest increments being in feet. There will also be a smaller line every 16th of an inch. In between each foot mark, there are hash marks that indicate half feet—these are represented by the symbol “-“ on most tape measures. Finally, some tape measures also have a mark for every quarter inch.
To read a woodworking tape measure, start by finding the zero-inch mark, which is usually located at the end of the tape. Then, hold the tape measure at the zero-inch mark and stretch it out to the desired measurement. The number that lines up with the zero-inch mark is the measurement in inches. For example, if you want to measure a board that is two feet long, you would stretch the tape measure out to 24 inches and read the number “24” on the tape measure.
To convert measurements from inches to feet, divide the number of inches by 12. For example, if you want to convert 24 inches to feet, you would divide 24 by 12, which equals two feet.
Tape measures are a vital part of any woodworker’s toolkit. With a little practice, you’ll be able to quickly and easily read a tape measure like a pro!
Woodworking tape measures accuracy
One of the most important aspects of a woodworking tape measure is its accuracy. This is especially true for professional woodworkers who rely on these tools to make precise measurements. There are a few things that can affect the accuracy of a tape measure, such as the type of material it’s made from and the width of the tape.
Another factor that can impact the accuracy of a woodworking tape measure is how it’s used. For example, if you’re using it to measure the length of a board, you’ll need to make sure that the board is level before taking your measurement. Otherwise, you might end up with an inaccurate reading.
Finally, keep in mind that even the best tape measures can lose their accuracy over time. This is why it’s important to check your tape measure regularly and calibrate it if necessary. By doing this, you can ensure that your measurements are always accurate.
Woodworking tape measures uses
Woodworking tape measures are used for a variety of tasks, including measuring dimensions and taking accurate measurements. In addition, they can be used to create precise cuts and markings on wood. They are also useful for marking out lines and patterns on wood.
What fraction is .35 inches?
Did you know that the standard markings on a woodworking tape measure are in fractions of an inch? For example, the mark for one-quarter inch is usually represented by a “¼” sign. So, if you see this symbol on your tape measure, you know that .35 inches is equal to three-quarters of an inch.
How do you read a 32nd tape measure?
The first thing you need to do is find the zero mark on the tape. This is usually located at the end of the blade. Once you have found the zero mark, you need to count the number of hash marks that are between the zero mark and the inch mark. Each hash mark represents one-thirty-second of an inch. So, if there are eight hash marks between the zero mark and the inch mark, that means the tape measure is reading eight-thirty-seconds of an inch, or one-quarter of an inch.
To read a metric tape measure, you need to find the zero mark on the blade and then count the number of centimeters between the zero mark and the end of the blade. Each centimeter represents ten millimeters. So, if there are eight centimeters between the zero mark and the end of the blade, that means the tape measure is reading eighty millimeters, or eight centimeters.
When you’re using a tape measure, it’s important to remember that the markings on the blade are only approximate. This is because the blade itself is flexible, so the markings will change slightly depending on how much pressure you’re applying to the tape. If you need an accurate measurement, it’s best to use a ruler or a measuring tape.
How do you read a 64th tape measure?
The first thing you need to do is identify the markings on the tape. The smallest increment on a standard tape measure is an inch, and each inch is divided into 16 smaller units called “marks.” These marks are usually represented by small lines or dashes. In between each inch mark, you’ll find four more marks that represent one-quarter, one-half, three-quarters, and one whole inch, respectively.
To read a 64th tape measure, you’ll need to identify the markings on the tape that represent 64ths of an inch. These markings are usually represented by small lines or dashes. In between each inch mark, you’ll find four more marks that represent one-quarter, one-half, three-quarters, and one whole inch, respectively. Each of these marks represents 16 64ths of an inch.
To measure something using a 64th tape measure, simply line up the beginning of the object you’re measuring with the 0 mark on the tape. Then, count the number of markings that fall within the length of the object you’re measuring. This will give you the measurement in 64ths of an inch. For example, if you’re measuring a piece of wood that’s two inches long, and four markings fall within that length, then your measurement would be 32 64ths of an inch (or two inches).
What is 25 on a 32nd tape measure?
This is a question that often comes up among woodworkers. The answer is that it is exactly one inch. This is because a 32nd tape measure has 32 divisions, so each division represents one-thirty-second of an inch. Therefore, the 25th division on a 32nd tape measure would be one inch.
You may have seen the markings “25 32” on a tape measure before, but what do they actually mean? These markings indicate that the tape measure is meant for use with 25-32 inch lumber. This is because the markings are placed at intervals of 16 inches, which is the standard width of lumber.
So, if you’re working with 25-32 inch lumber, make sure to use a tape measure that has these markings. It’ll make your life a lot easier!
Here are some additional facts about woodworking tape measures:
Most tape measures have markings on them that indicate inches and centimeters.
Some tape measures also have hooks or loops on the end, which can be used to measure around corners or other objects.
They are often stored in a case or holster when not in use.
There are many different brands of woodworking tape measures. Some of the more popular brands include Stanley, Craftsman, and Milwaukee. If you’re looking for a new woodworking tape measure, be sure to check out the selection at your local hardware store or online.
Conclusion on woodworking tape measures
As you can see, there are a lot of interesting things about woodworking tape measures that you may not have known. From their accuracy to their different features, these tools are essential for any woodworker. By understanding more about them, you can be sure that you’re always using the best tool for the job.
There are many ways to use a woodworking ruler in your next project. In this article, we will discuss 10 unique ways that you can use this handy tool in your workshop. From measuring and marking cuts to creating joints and assemblies, the woodworking ruler is a versatile tool that every woodworker should have in their arsenal. Let’s take a closer look at some of the ways that you can put this tool to work for you!
History of woodworking ruler
The woodworking ruler is a versatile tool that has been used by woodworkers for centuries. Its origins can be traced back to the early days of carpentry, when it was used to measure and mark cuts. Today, the woodworking ruler is still an essential tool for any workshop. From measuring and marking cuts to creating joints and assemblies, the woodworking ruler is a versatile tool that every woodworker should have in their toolbox.
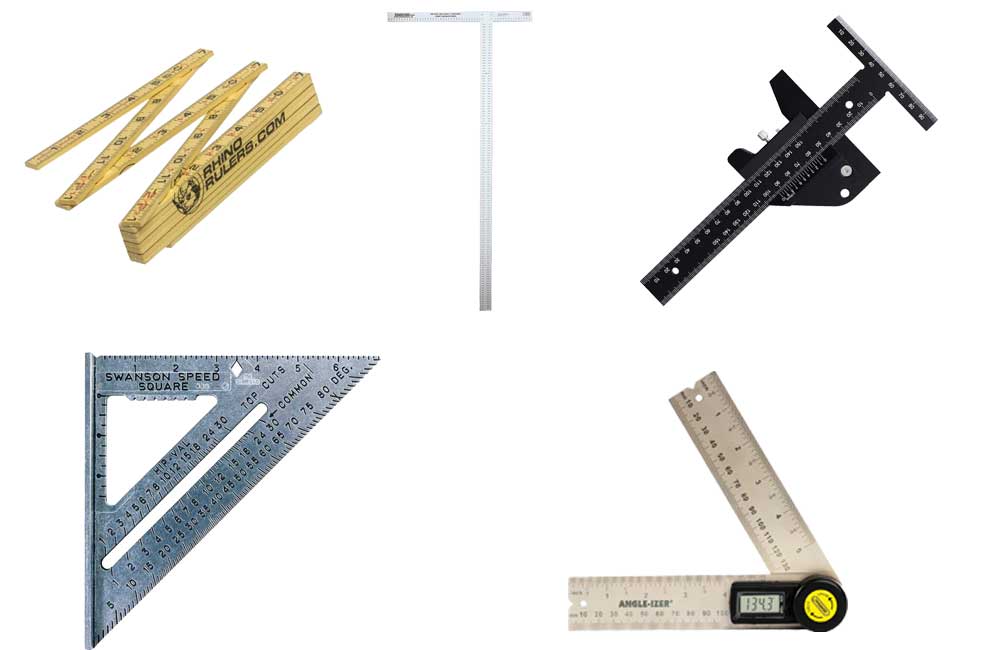
Kinds of woodworking ruler
There are many different types of woodworking rulers available on the market today. Each type has its own unique set of features and benefits that can be tailored to specific projects. Here are a few of the most popular types of woodworking rulers:
Standard Woodworking Ruler
This is the most basic type of woodworking ruler. It is typically made from aluminum or steel and has markings for inches and centimeters.
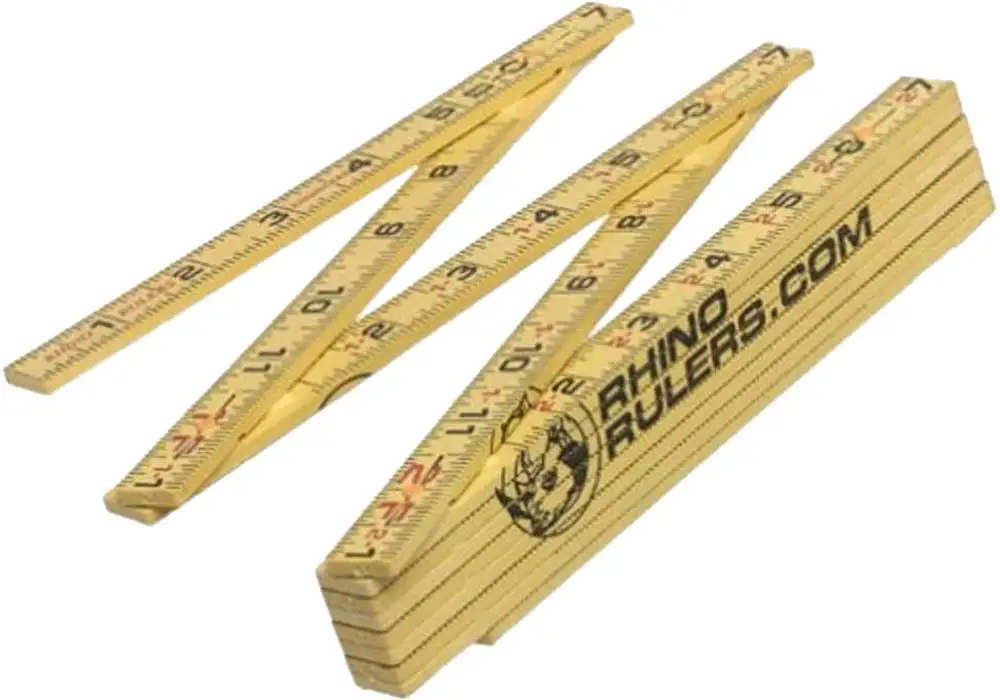
Folding Woodworking Ruler
This type of woodworking ruler is convenient for storage and transport. It is typically made from aluminum or steel and has markings for inches and centimeters.
There are many different brands and styles of folding rulers available, so it is important to choose one that will suit your needs. When selecting a folding ruler, consider the length, width, and thickness of the ruler. You will also want to consider the type of material that the ruler is made from. Some materials, such as aluminum, are more durable than others. Once you have selected the perfect folding ruler for your needs, there are a few different ways that you can use it in your next project.
This type of woodworking ruler is used to create perpendicular lines and cuts. It is typically made from aluminum or steel and has markings for inches and centimeters.
This type of woodworking ruler is used to create beveled edges on cuts and joints. It is typically made from aluminum or steel and has markings for degrees.
Each type of woodworking ruler has its own unique set of features that can be tailored to specific projects. When choosing a woodworking ruler, it is important to consider the type of project you will be working on and select a ruler that has the features best suited for that project.
What is the woodworking edge rule and what uses does it have?
The woodworking edge rule is a versatile tool that can be used for a variety of different tasks in the workshop. From measuring and marking cuts to creating joints and assemblies, the woodworking edge rule is an essential tool for any woodworker.
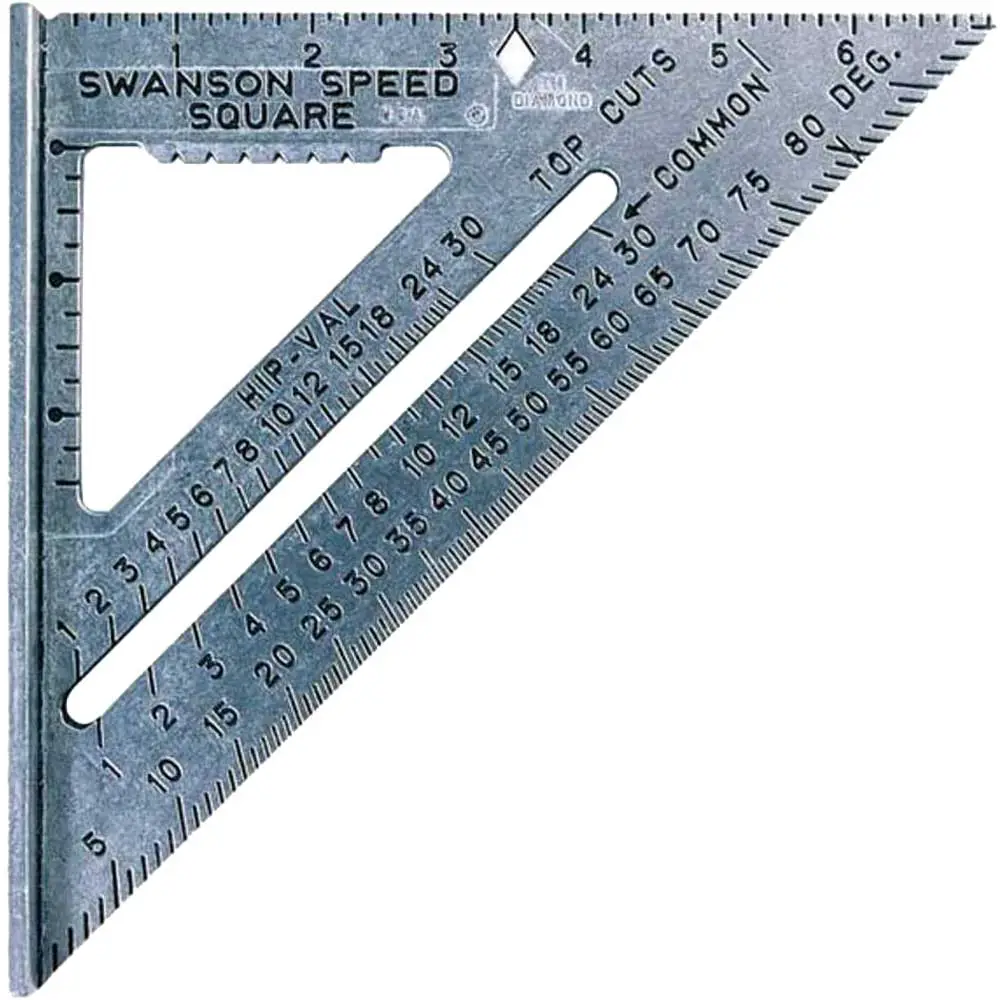
Woodworking triangle ruler
If you’re looking for a way to add precision to your next project, consider using a woodworking triangle ruler. This type of ruler is specially designed for use in woodworking, and can be used for tasks such as measuring and marking cuts, creating joints and assemblies, and more.
To use a woodworking triangle ruler, simply place it on your workpiece and align the ruler’s edge with the desired cutline. Then, use a pencil or other marking tool to trace along the edge of the ruler, creating a precise and accurate line.
Most woodworkers are familiar with the standard ruler, but there are actually many different types of rulers available. The set square is one type of ruler that is commonly used in woodworking. This tool is used to measure and mark angles on a piece of wood.
Set squares come in a variety of sizes, but the most common size is the six-inch set square. This size is large enough to be used on most pieces of wood, but small enough to be easily maneuverable.
Set squares are made from a variety of materials, but the most common material is wood. Set squares can also be made from plastic or metal.
When using a set square, it is important to make sure that the blade is perpendicular to the edge of the wood. This will ensure that the markings are accurate.
Once the set square is in place, you can use it to mark a line on the wood. To do this, simply draw a line along the length of the blade.
You can also use the set square to mark angles on the wood. To do this, you will need to find the center point of the wood. Once you have found the center point, you can place the set square at that point and mark an angle on the wood.
There are many different ways to use a set square in your woodworking project. These are just a few of the most common ways that set squares are used.
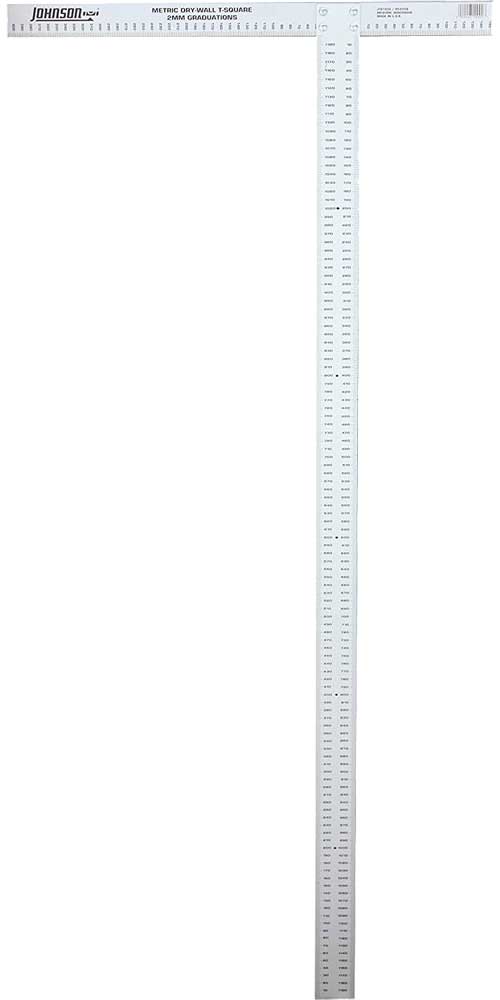
What is flexible ruler?
A flexible ruler is a tool that every woodworker should have in their workshop. There are many uses for this type of ruler, from measuring and marking cuts to creating joints and assemblies.
One way to use a flexible ruler is to measure and mark cuts. This is a great way to ensure that your cuts are accurate. Another way to use this handy tool is to create joints and assemblies. By using the ruler to measure and mark the pieces that you need, you can create perfect joints every time.
Another great use for a flexible ruler is to create templates.
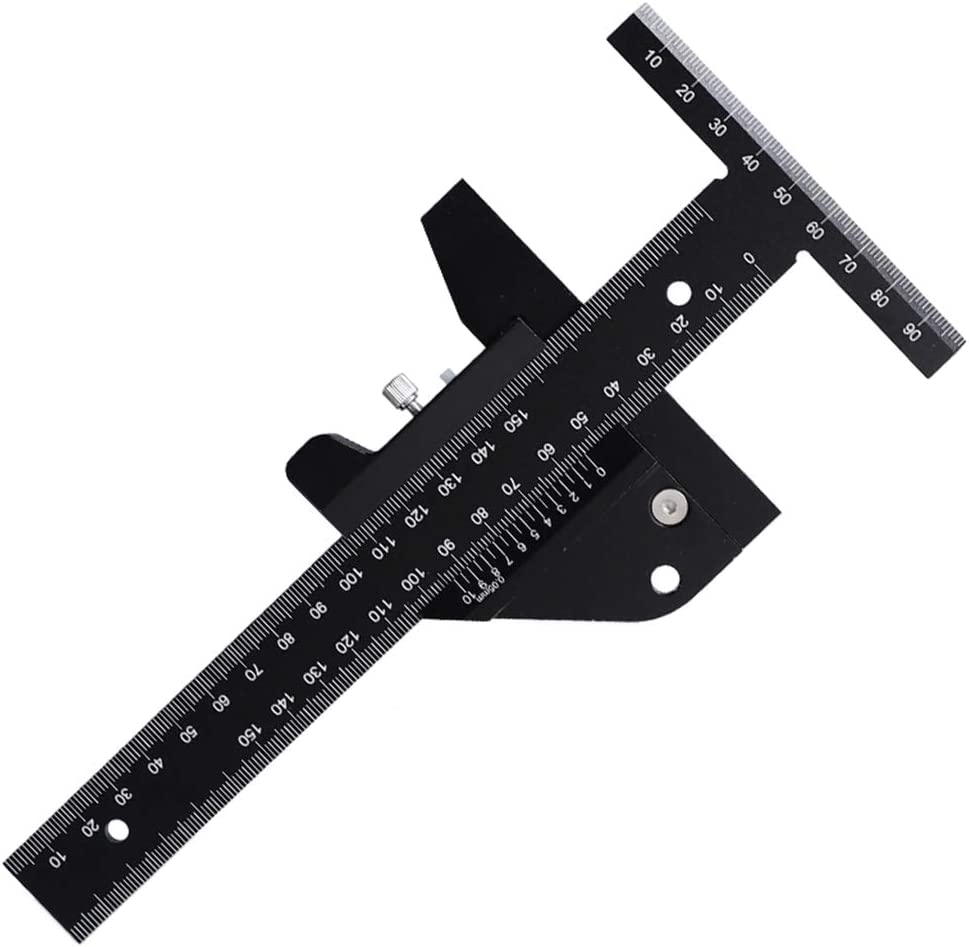
What is precision ruler woodworking
Precision rulers are an essential tool for any woodworker. From measuring and marking cuts to creating joints and assemblies, the woodworking ruler is a versatile tool that every woodworker should have in their workshop.
How to Use a Woodworking Ruler
One of the most obvious uses for a woodworking ruler is measuring. Whether you’re measuring for cuts or for assembly, a ruler is an essential tool for getting accurate measurements. You can also use your ruler to mark out lines and markings on your material – this can be helpful when creating joints or assembling pieces.
Another great use for a woodworking ruler is creating templates. If you need to create multiple identical pieces, a ruler can help you ensure that your pieces are all the same size and shape. This can be a huge time-saver, especially if you’re working on a larger project.
One of the less obvious uses for a woodworking ruler is as a straightedge. If you need to create a perfectly straight line, a ruler can help you get the job done quickly and easily. This is especially helpful when working with long boards or other materials that can be difficult to keep level.
Finally, a woodworking ruler can also be used as a clamp. If you need to secure two pieces of wood together, a ruler can provide the perfect amount of pressure to keep your pieces in place while you work. This can be extremely helpful when working on delicate projects or when trying to avoid damaging your material.
As you can see, there are many ways to put a woodworking ruler to good use in your next project. Whether you’re measuring, marking, or creating templates, this versatile tool can help you get the job done right. So, don’t be afraid to experiment and find new ways to use your woodworking ruler – you might be surprised at how helpful it can be!
Here are some other unique ways that you can use a woodworking ruler in your next project:
Marking and measuring cuts
Assembling pieces
Creating joints
Checking for squareness
Marking dovetails
Scribing lines
Making templates
Transferring measurements
Cutting miters.
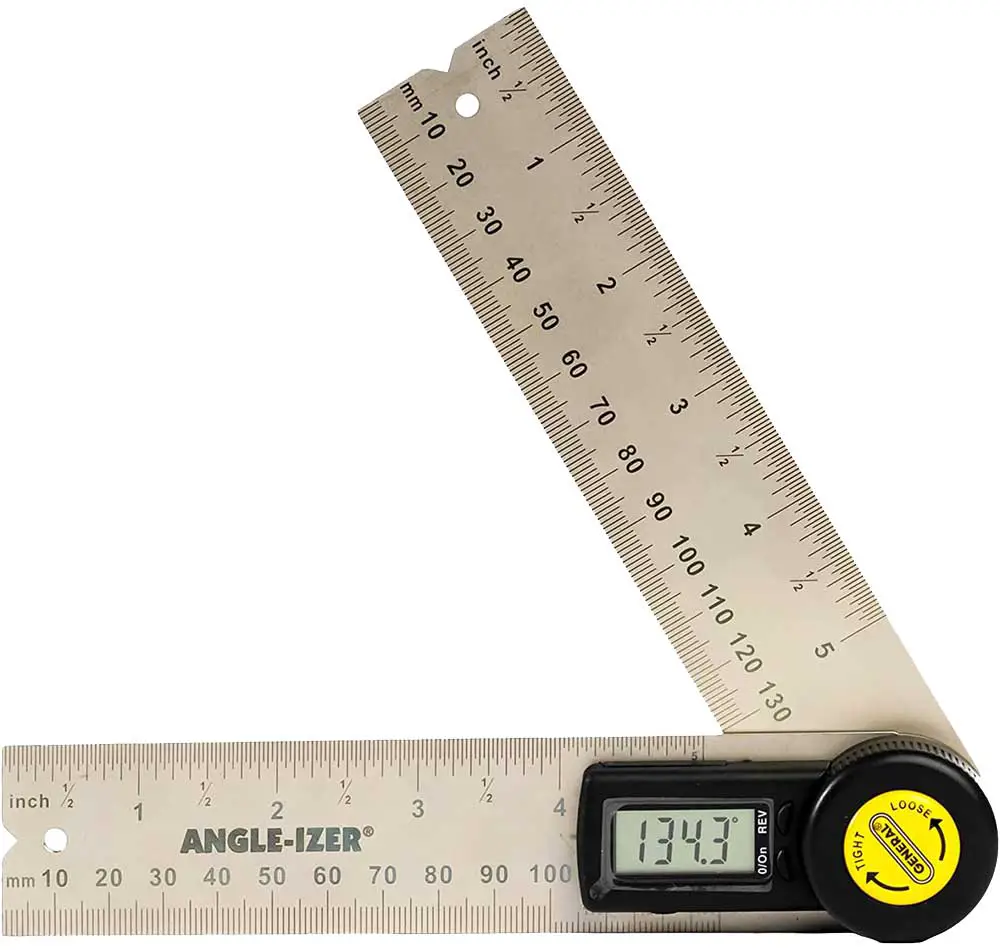
What is a 90 degree ruler called?
A 90 degree ruler is also called a T-bevel, carpenter’s square, or try square. It is a handy tool that helps you mark and measure angles for your project. You can use it to create joints, assemblies, and cuts.
What is a scribing ruler called?
A scribing or bevel gauge is a tool used to transfer measurements from one workpiece to another, or to lay out lines at specific angles. It consists of two arms, joined at one end by a hinge, with a sharp point at the other end. The arms are adjustable so that they can be set to any desired width.
The woodworking ruler is a versatile tool that every woodworker should have in their workshop. There are many different ways to use this handy tool, from measuring and marking cuts to creating joints and assemblies. In this article, we discussed ten unique ways that you can use a woodworking ruler in your next project. With these tips, you will be able to take on any woodworking project with confidence. Do you have any other tips for using a woodworking ruler? Share them with us in the comments below!